Creating a Digital Messaging interface
2 Tareas
10 minutos
Escenario
U+ Bank wants to set up its chatbot to respond to service requests received from several digital channels. As an initial step, the bank first wants to create a Digital Messaging interface to respond to requests received from its website.
As an admin, create a Digital Messaging interface for Web Messaging channel to implement the business scenario.
Use the following credentials to log in to the exercise system:
| Role | User name | Password |
|---|---|---|
| Self-Service Application Administrator | Eduselfserviceadmin | rules |
Your assignment consists of the following tasks:
Task 1: Create a new Digital Messaging channel interface
Create a new Digital Messaging channel interface to respond to service requests received from the U+ Bank website.
Task 2: Set up the Digital Messaging for Web Messaging channel
Set up a connection between the retail bank and Web Messaging.
Task 3: Confirm your work
On the U+ Bank website, confirm that the chat widget is added, and the welcome message is displayed.
Recorrido del Reto
Tareas detalladas
1 Create a Digital Messaging channel interface
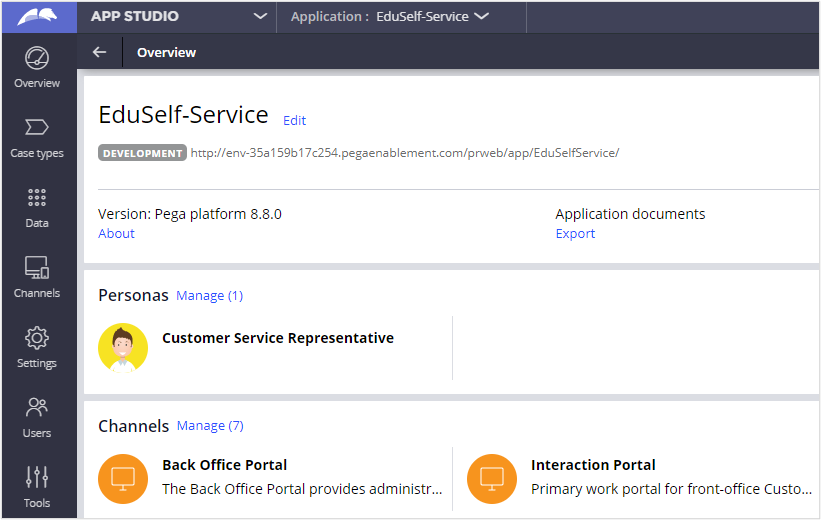
- Log in to the EduSelf-Service application with User name Eduselfserviceadmin using Password rules.
- In the navigation pane of App Studio, click Channels to create a new channel interface for Digital Messaging.
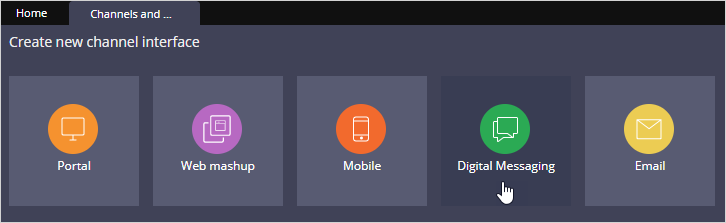
- In the Create new channel interface section, click Digital Messaging to create a channel.
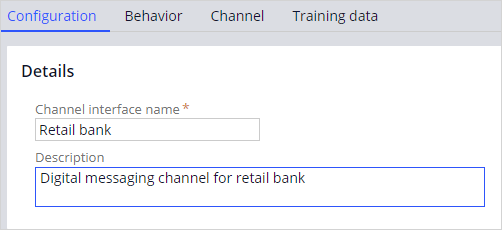
- On the Configuration tab, enter the following details:
- Channel interface name: Retail bank
- Description: Digital messaging channel for retail bank
- On the Behavior tab, in the Text Analyzer, uncheck Enable small talk.
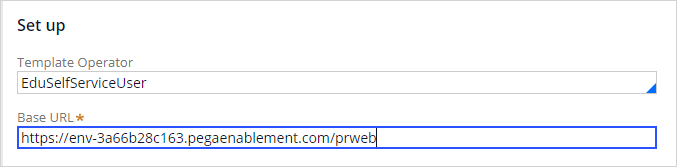
- On the Connection tab, In the Set up section, enter the following details:
- Template Operator: EduSelfServiceUser
- Base URL: The instance URL where you can configure the channel
Nota: You can copy the URL from the current enablement instance and paste it into the Base URL.
- Click Save.
2 Set up the Digital Messaging for Web Messaging channel
- In the Connections section, click Manage connections to set up the Intelligent Virtual Assistant (IVA) for Digital Messaging for multiple social messaging channels.
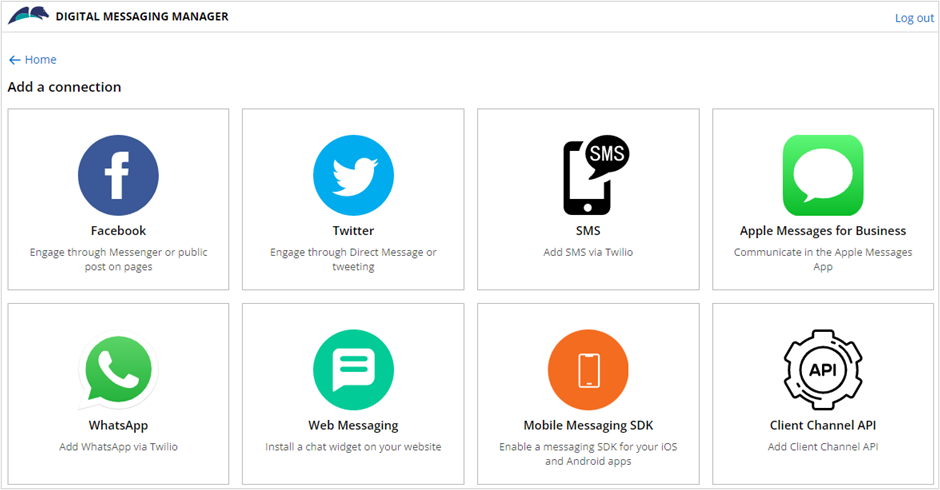
The system displays the Digital Messaging Manager window. - Click Add connection.
- Click Web Messaging to install a chat widget on the U+ Bank website.
- On the New Web Messaging home screen, on the General tab, enter the following details:
- Name: Retail bank
- Chat heading: Let's chat

- Click Save to make a successful connection between the retail bank and Web Messaging.
Confirme su trabajo
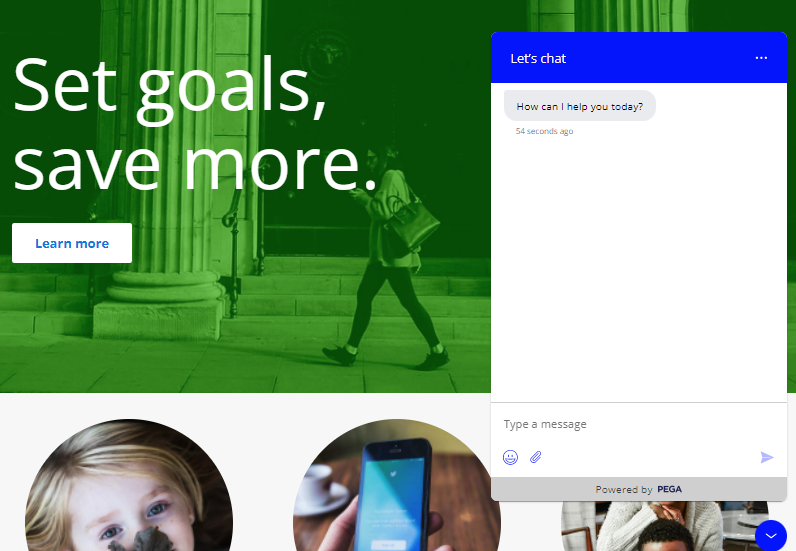
- Open the U+ Bank web site.
Nota: The system might take a few seconds to display the chat icon.
- Click the icon to see the welcome message in the chat box.
Disponible en la siguiente misión:
If you are having problems with your training, please review the Pega Academy Support FAQs.
¿Quiere ayudarnos a mejorar este contenido?